-0%
, , , , ,

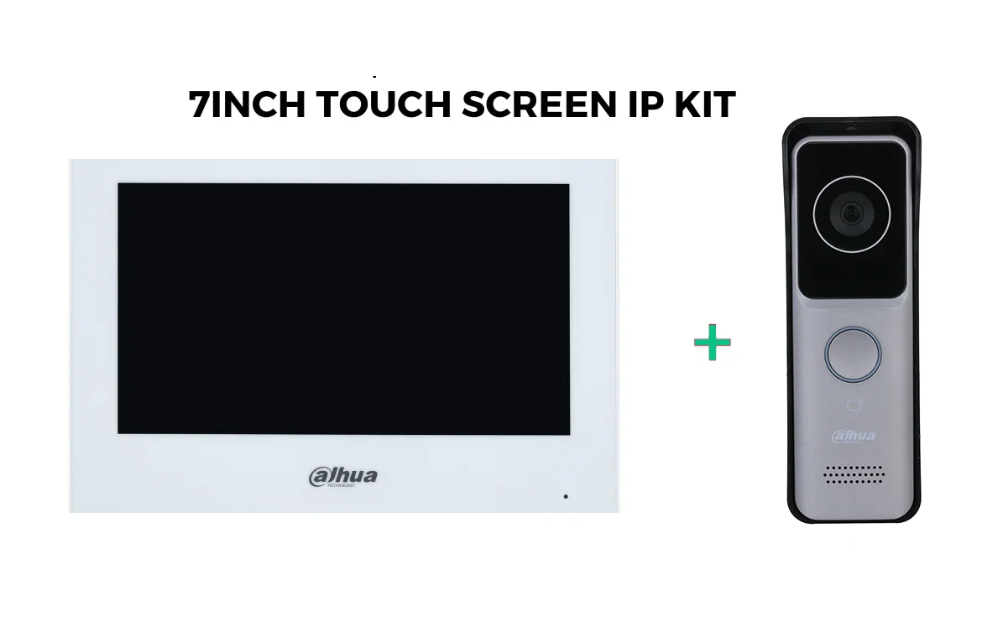
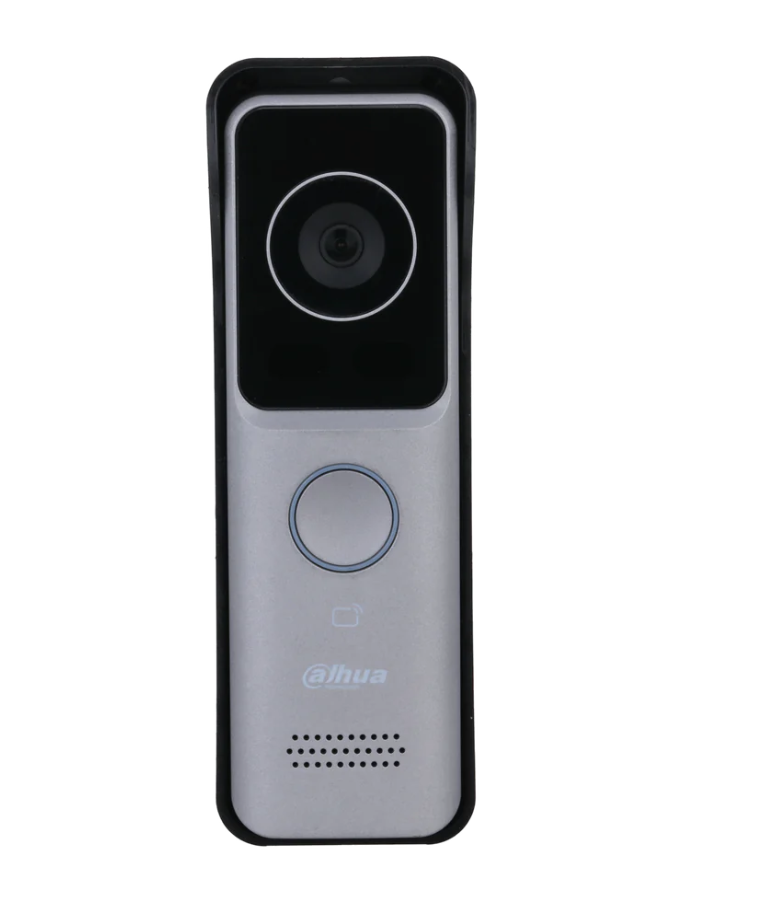
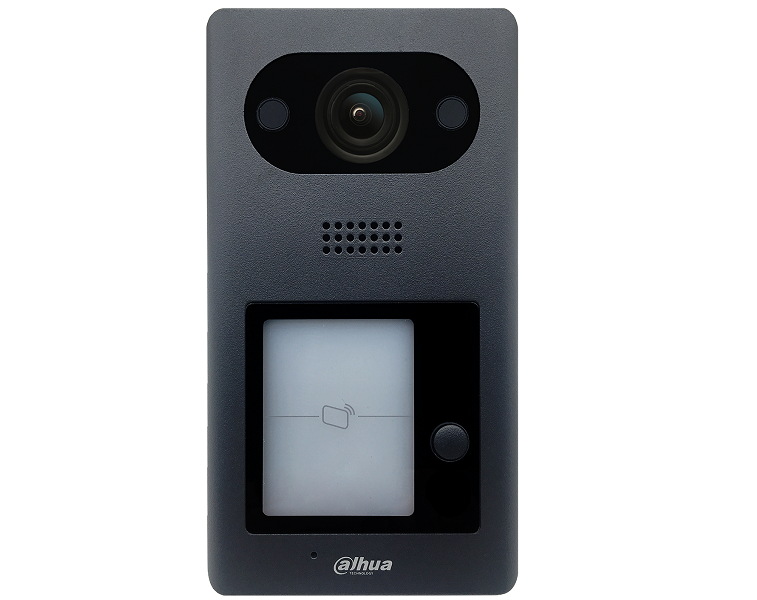
Dahua DHI-VTO2311R-WP 2MP Villa Outdoor Station + 7 inch Touchscreen Kit


> Ultra slim design.
> PC and ABS material make it ideal for indoor and outdoor use.
> 1/2.8” 2-MP HD CMOS camera.
> Offers two-way video call with indoor monitors.
> Video and voice messages from visitors can be checked on the indoor monitor
> Video call and unlocking through app.
> IR illumination and auto WDR.
> Wi-Fi connection.
> IP65 rated.
> H.264 and H.265.
> Unlock with IC card.
> PoE power supply.

Dahua IP Indoor Monitor white, 7″ TFT capacitive touch screen, 1024 × 600, 6-channel alarm input and 1-channel alarm output, Standard PoE, Outdoor station and IPC monitor, H.265 and H.264 video coding, High performance & cost-effective

> 7” TFT capacitive touch screen, 1024 x 600
> 6-channel alarm input and 1-channel alarm output
> Standard PoE
> Outdoor station and IPC monitor
> H.265 and H.264 video coding
> High performance & cost-effective

$377.00 $378.00 inc GST +3 Year Warranty & Support

OUTDOOR STATION
RESOLUTION 2MP
TECHNOLOGY IP
POWER SUPPLY DC 12V, PoE
PROTECTION IP65
MOUNT Surface Mount
ImageNamePriceBuy
Dahua DHI-VTH2621GW-P 7inch Touch Screen IP Indoor Intercom Monitor$178.00 $210.00 inc GST +3 Year Warranty & Support

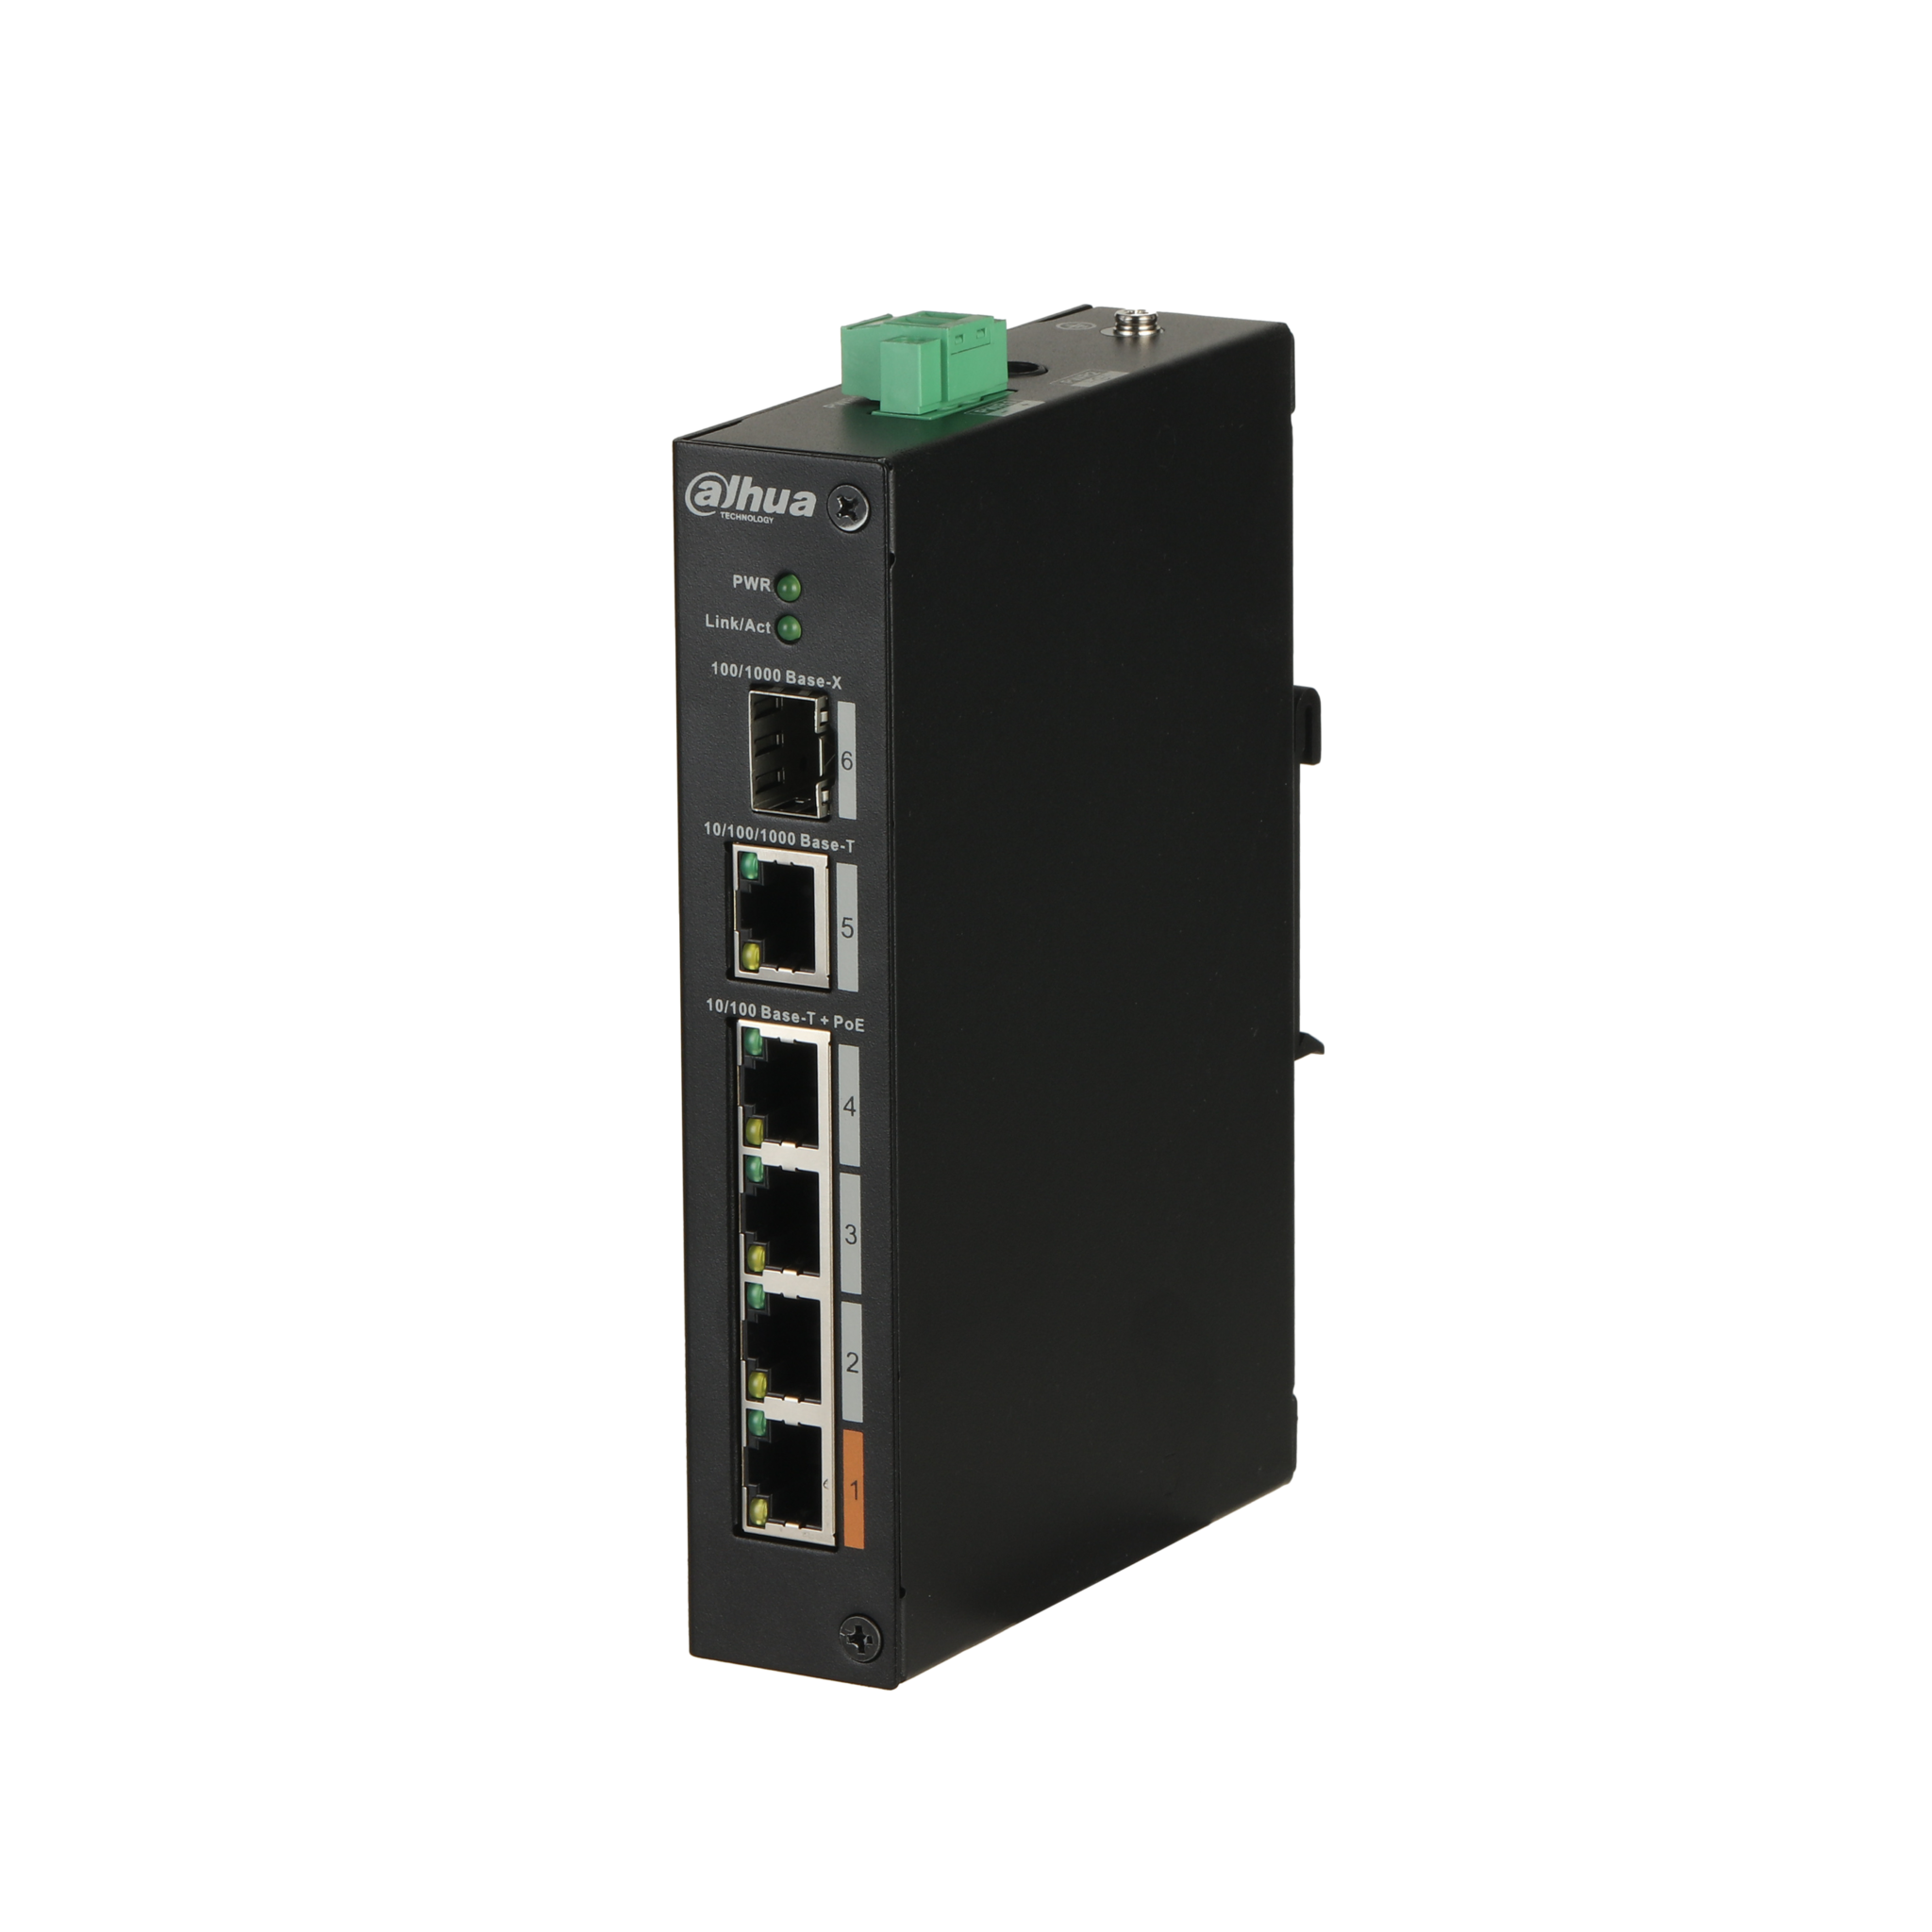
Dahua DH-PFS3106-4ET-60 4-Port PoE Switch (Unmanaged)$127.00 inc GST +3 Year Warranty & Support
Dahua DHI-VTO3211D-P1, Dahua 2MP IP Villa 1 button Outdoor Station$245.00 inc GST +3 Year Warranty & Support

1. Components in the Kit

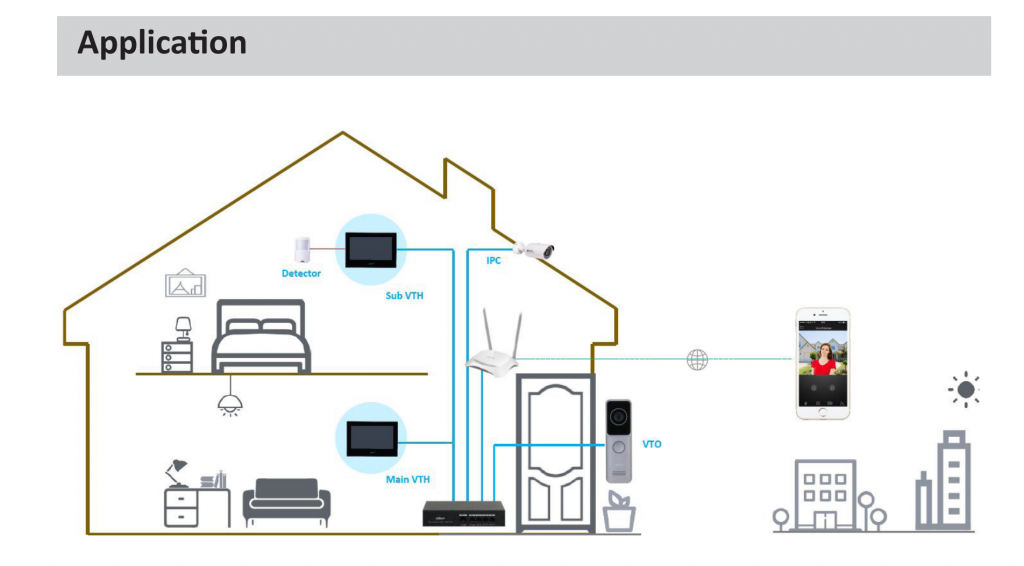
  • DHI-VTO2311R-WP: Outdoor station (doorbell with a camera).
  • 7-inch Touchscreen Monitor (VTH): Indoor monitor to interact with the outdoor station.
  • Mounting Brackets: For physical installation.
  • Screws and Anchors: For securing devices.

2. Required Tools and Materials

  • Ethernet cables (if not using Wi-Fi).
  • Screwdrivers and drill for mounting.
  • Router or network switch (if integrating with a network).
  • PoE switch if using Power over Ethernet.

3. Cabling Setup

Wired Network Setup

  1. Outdoor Station (VTO) to Router/Switch:
    • Use a CAT5e/6 Ethernet cable to connect the VTO to your network router or switch.
    • If using PoE, the same Ethernet cable will provide both power and data.
  2. Indoor Monitor (VTH) to Router/Switch:
    • Connect the VTH to the same network using an Ethernet cable.
    • If the VTH supports PoE, use a PoE-enabled switch;

4. Installation

Outdoor Station (VTO)

  • Mount the VTO near your entrance, ensuring the camera has a clear view.
  • Use the mounting bracket and screws to secure it.
  • Ensure the device is weatherproofed if installed outdoors, especially the cabling

Indoor Monitor (VTH)

  • Mount the VTH on a wall near a cable outlet.
  • Position it where it is easily accessible.

5. Initial Configuration

  1. Power On:
    • Power on both the VTO and VTH.
SKU: DHI-VTO2311R-WP-VTH2621GW Categories: , , , , ,

You may also like…

Register a Free Account now for access to Better Prices or Log-In Here

Save & Share Cart
Your Shopping Cart will be saved and you'll be given a link. You, or anyone with the link, can use it to retrieve your Cart at any time.
Back Save & Share Cart
Your Shopping Cart will be saved with Product pictures and information, and Cart Totals. Then send it to yourself, or a friend, with a link to retrieve it at any time.
Your cart email sent successfully :)