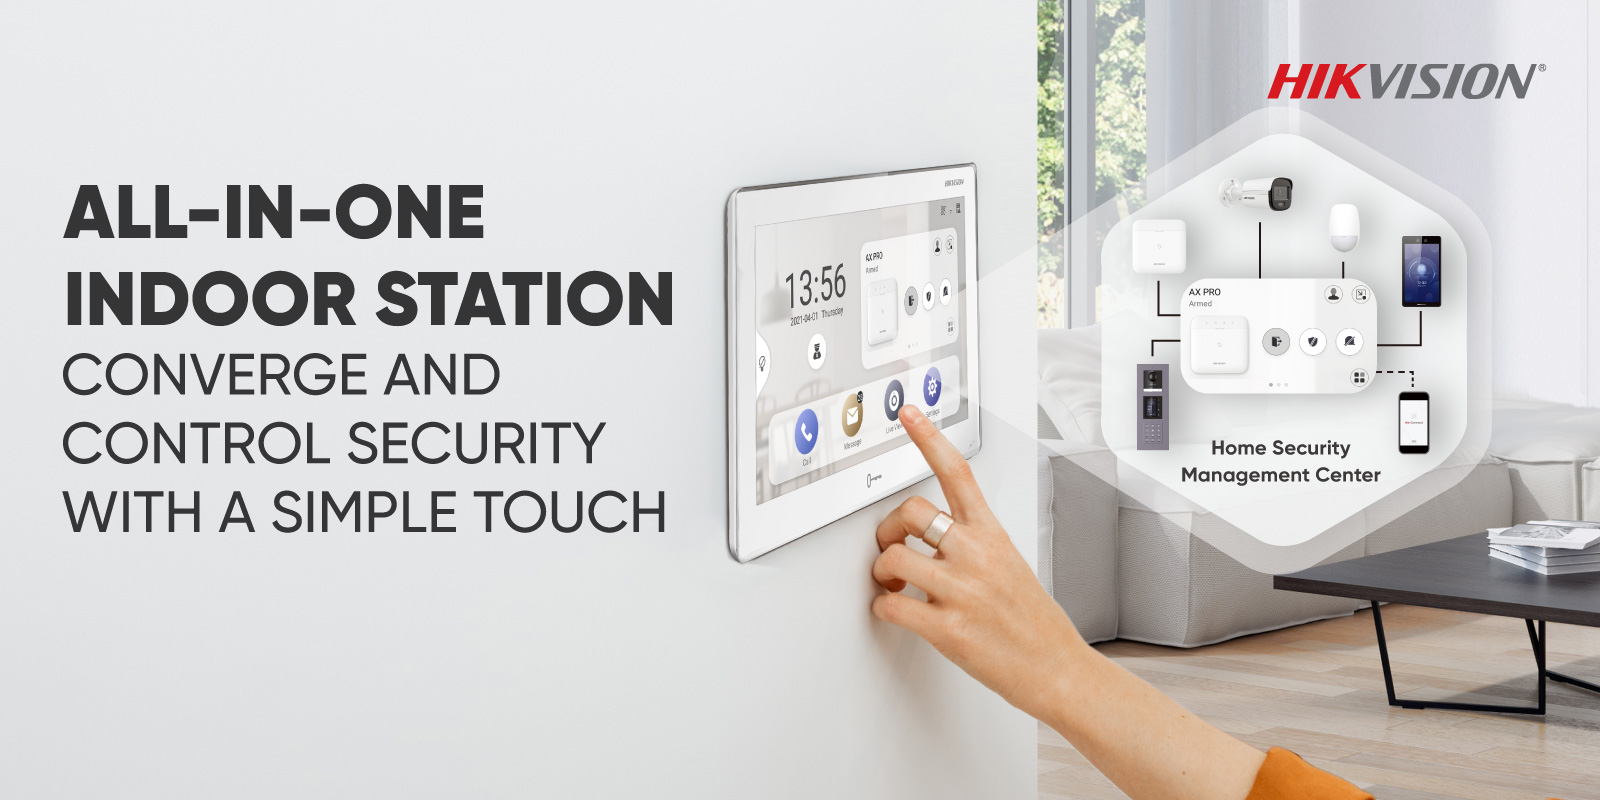
Hik-Connect is a new service introduced by Hikvision which integrates the dynamic domain name service (HiDDNS) along with alarm push notification service. It provides an easy way for devices to connect to the Internet.
USEFUL VIDEO TO SEE HOW THIS IS SETUP DONE VIDEO
Preferred DNS server – 8.8 .8.8
Alternative
DNS Server :
8.8 .
4.4
APP STORE DOWNLOAD LINK – https://itunes.apple.com/au/app/hik-connect/id1087803190?mt=8
ANDROID DOWNLOAD LINK – https://appstore.hikvision.com/
FULL HIK CONNECT USER MANUAL – Hik-connect-Mobile-Client-Software-(iOS)-User-Manual
Hik-Connect-How-to-add-devices-to-an-existing-hik-connect-account-NVRs-DVRs-Cameras
Hik-Connect-How-to-enable-Hik-Connect-remote-access-on-HIK-devices-NVRs-DVRs-Cameras
How To Add Hik-Connect Device to iVMS4500
To add the Hikvision CCTV system to a phone and scan the QR code to add the NVR via P2P, follow these steps:
Step 1: Install the Hik-Connect App
Download and Install the App:
For iOS: Open the App Store and search for “Hik-Connect.”For Android: Open the Google Play Store and search for “Hik-Connect.”Download and install the app on your smartphone.
Step 2: Register and Log In
Open the App:
Launch the Hik-Connect app.
Register or Log In:
If you do not have a Hik-Connect account, tap on “Register” and follow the on-screen instructions to create an account.
If you already have an account, tap on “Login” and enter your credentials.
Step 3: Enable P2P on the NVR
Access the NVR:
Log in to your NVR via a monitor connected to the NVR or using a web browser on your computer.
Enable P2P:
Navigate to Configuration > Network > Advanced Settings > Platform Access.
Check the box for Enable.
Ensure the Status is “Online.”
Note: If the status is “Offline,” ensure your NVR is connected to the internet.
Step 4: Add the NVR to the App
Open the Hik-Connect App:
After logging in, tap on the “+” icon in the upper-right corner of the screen.
Scan the QR Code:
On your NVR, go to Configuration > Network > Advanced Settings > Platform Access.
You will see a QR code on the screen.
Use the Hik-Connect app to scan this QR code.
Add the Device:
After scanning the QR code, the app will recognize the NVR.
Follow the on-screen prompts to complete the setup.
You might need to enter the verification code. This code is usually located on the NVR or provided by your installer.
Step 5: View the Cameras
Access Live View:
Once the NVR is added, go to the Live View tab in the Hik-Connect app.
You should now see the live feed from your connected cameras.
Troubleshooting Tips
Ensure Internet Connection: Make sure your NVR is properly connected to the internet.Update Firmware: Ensure your NVR and cameras have the latest firmware updates.Correct Time Settings: Make sure the time settings on your NVR are correct to avoid synchronization issues.
If you encounter any issues, consult the Hikvision support website or contact your installer for further assistance.


