No products in the cart.
How to Set up & Configure Hikvision IP Intercom system
This is a comprehensive guide with lots of videos providing guidance for setting up Hikvision IP Intercoms.
Cabling requirements:
> ethernet cable from every Door Station to Poe Switch
> ethernet cable from every indoor Monitor to Poe Switch
> ethernet cable from Poe Switch to the modem (if you wish to set up remote communication)
Need to unlock a gate?
If you need to open/ control 1-2 door / gate strikes, run 4 core cabling from the Intercom Door Station to the respective strikes. These strikes need to be powered separately, ie. the door station will not be able to power these strikes.
GEN 2 Guides
Watch the below video to get cracking.
ONE DOOR STATION AND ONE MONITOR – in case the first video was too fast. Set up is quick and easy and doesn’t use IVMS4200.
INTRODUCTION VIDEO + HOT TIPS
OR ONE DOOR STATION AND ONE MONITOR IVMS4200 Method:
If you need the indoor monitor to connect through wifi instead of data cable – https://www.youtube.com/watch?v=TklIto_nVh8
How to add more monitors (requires a PC running IVMS4200)
How to add keypad:
How to add maglock?
How to add exit button?
How to add more door stations:
——————–
THE MOST USEFUL GUIDES FROM HIKVISION
HOW TO CONFIGURE DOOR STATION AND EXTENSION VIA LOCAL INTERFACE
HOW TO ADD A SINGLE INDOOR STATION TO THE DOOR STATION
HOW TO SET UP INDOOR EXTENSION ON IVMS4200
—————
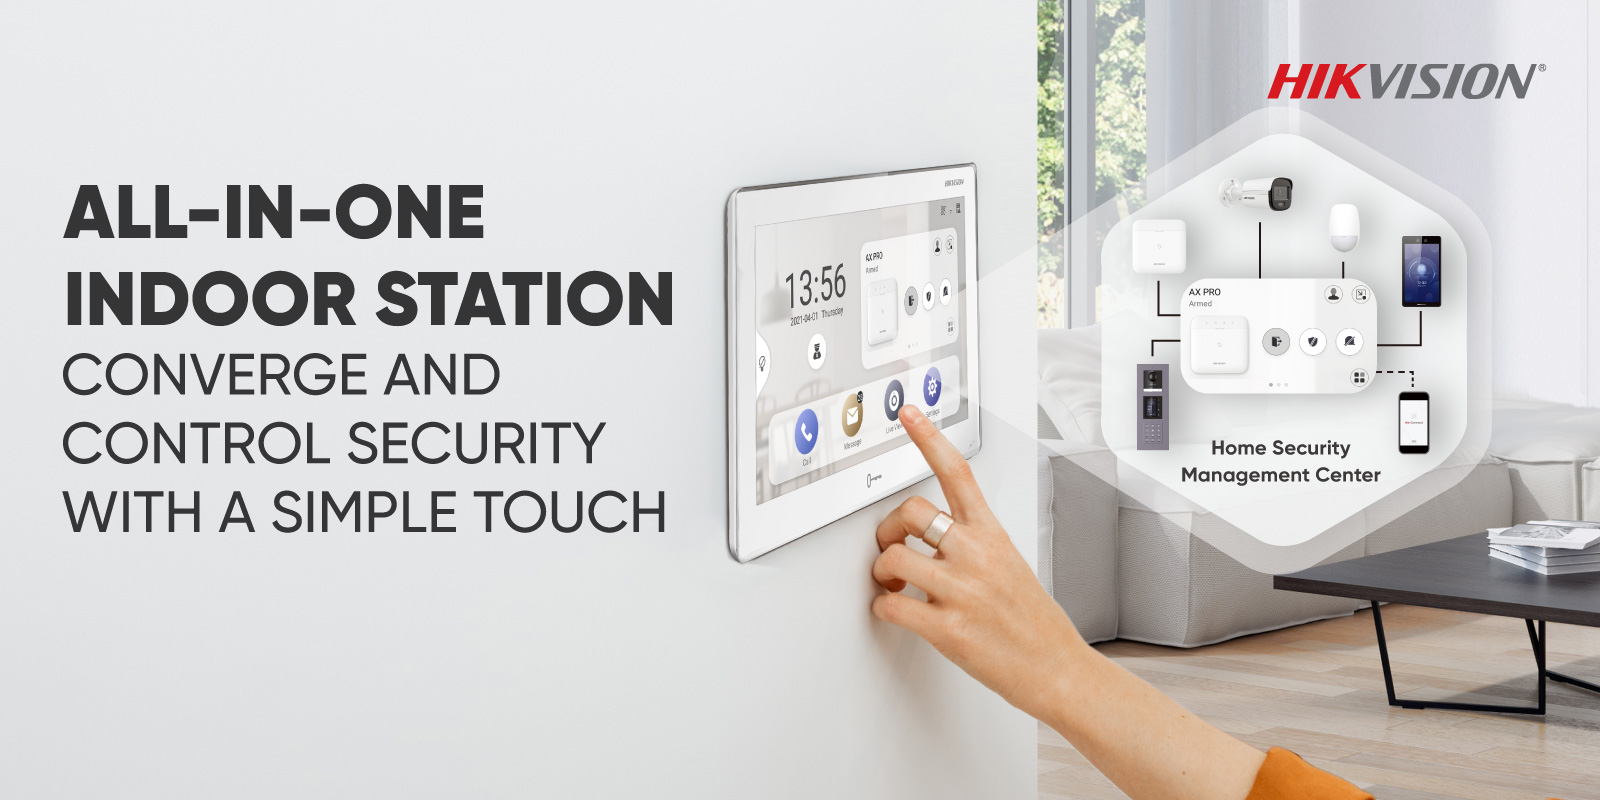
Indoor Station Configuration Guide
Indoor Station Operation Guide
Indoor Station Quick Start Guide
Probably the most useful guide ever *** CLICK HERE ***
How to setup – guide from Pipl Systems – https://pipl.systems/setup-tutorial-hikvision-2nd-modular-intercom-system/
Add a second monitor – https://www.youtube.com/watch?v=-11RJ1S-8Xg
How to add a single sub-door station to the main door station
GEN 1 Guides
Please click to download.
How to set up HIKVISION intercom for first time
How to configure a Hikvision Villa Intercom System


