Image | Name | Price | Buy |
---|---|---|---|
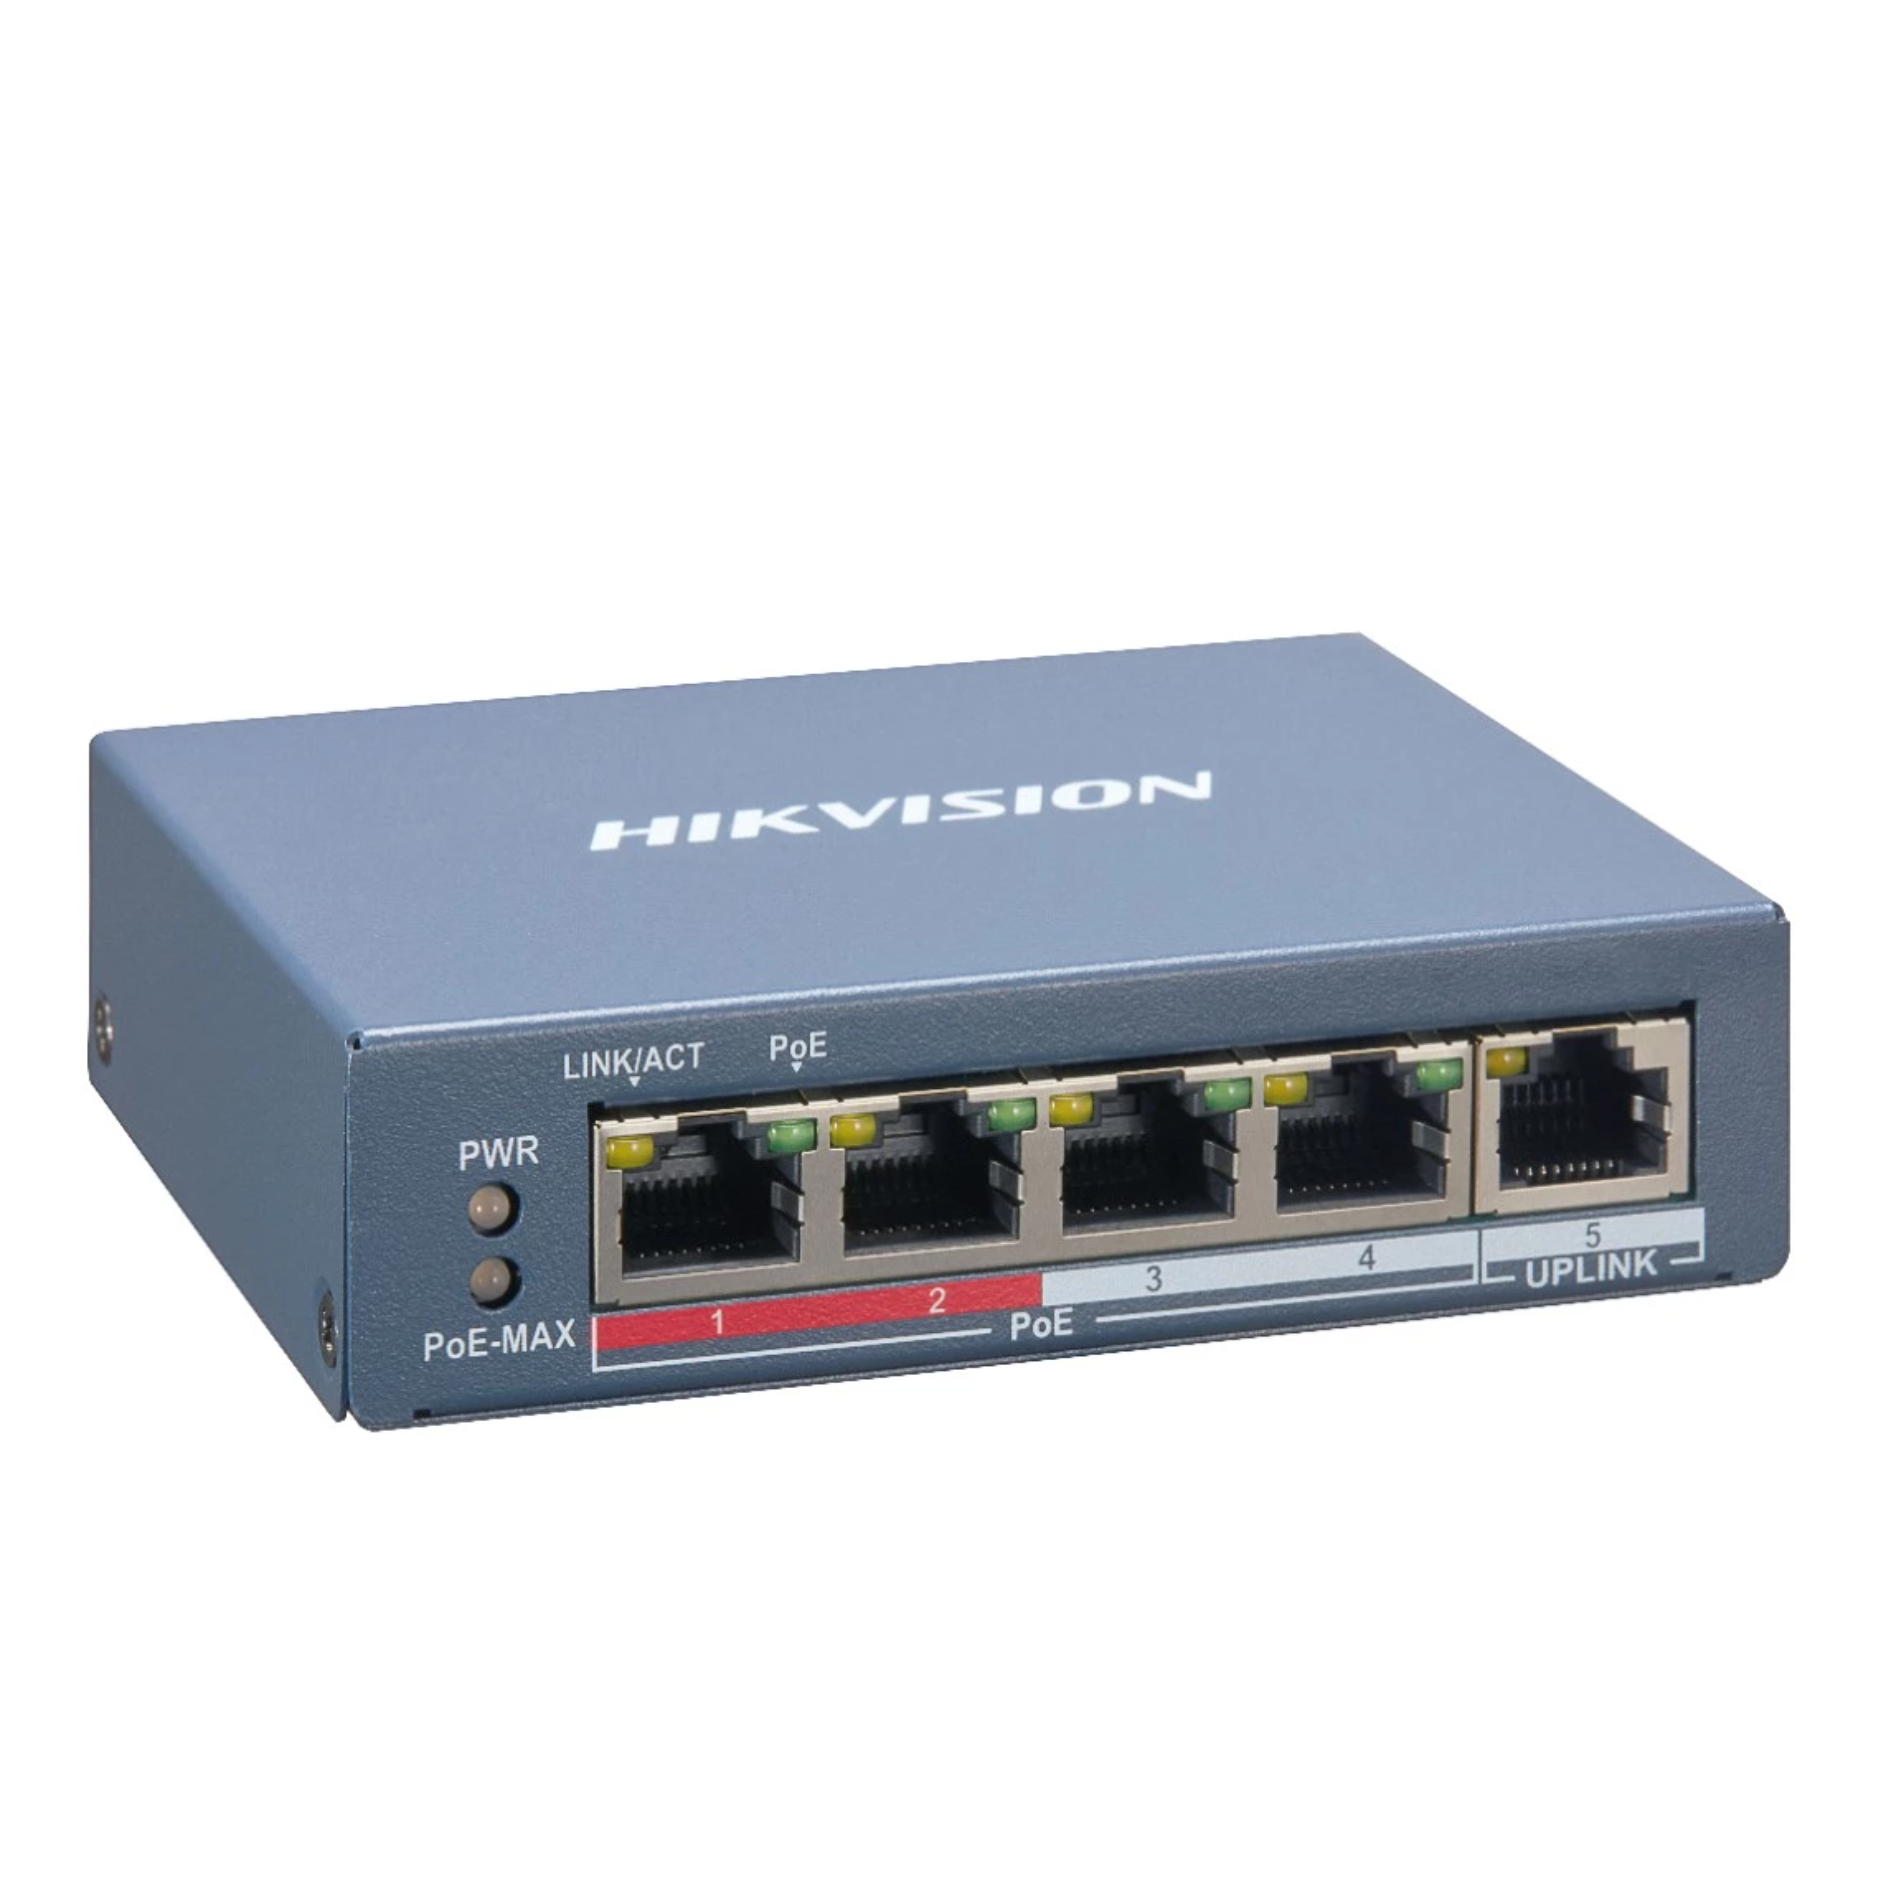
Hikvision DS-3E1105P-EI 4 Port Smart POE Switch | $80.00 inc GST +3 Year Warranty & Support | ||
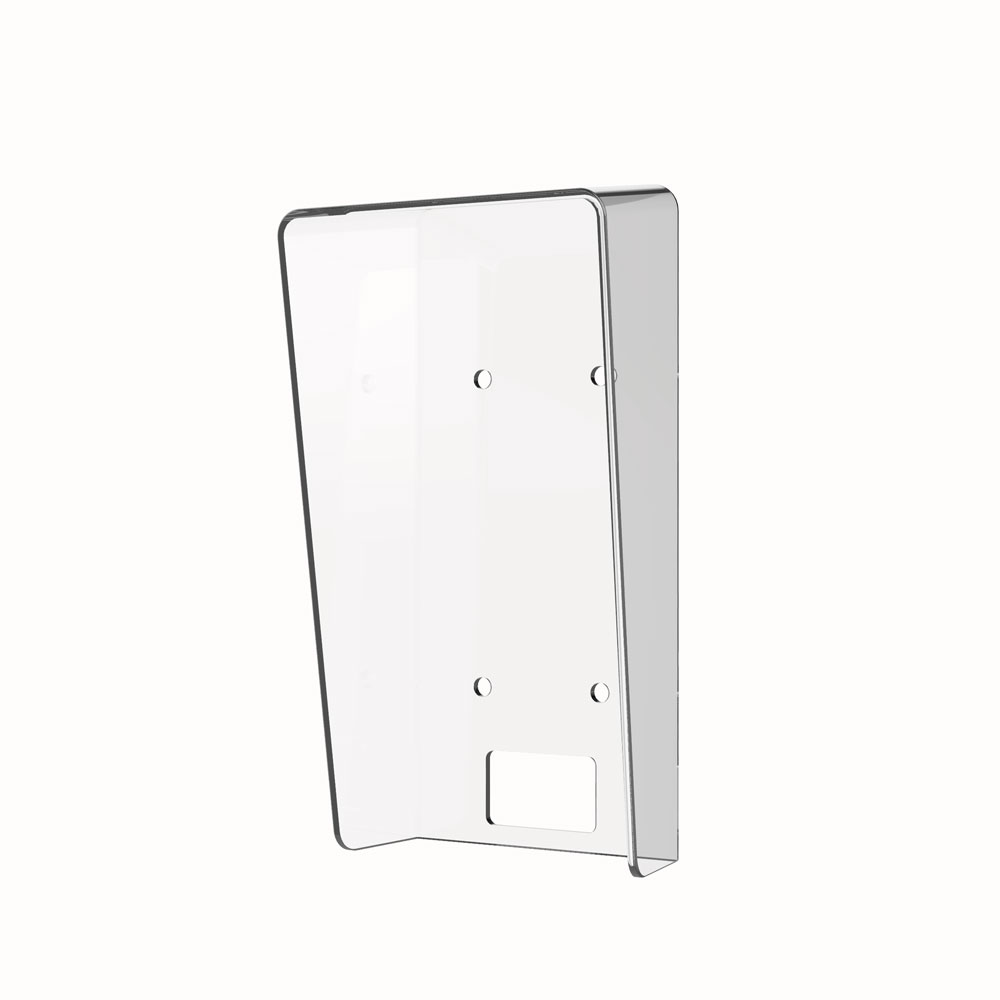
Hikvision DS-KABV6113-RS Protective Shield | $20.00 inc GST +3 Year Warranty & Support | ||
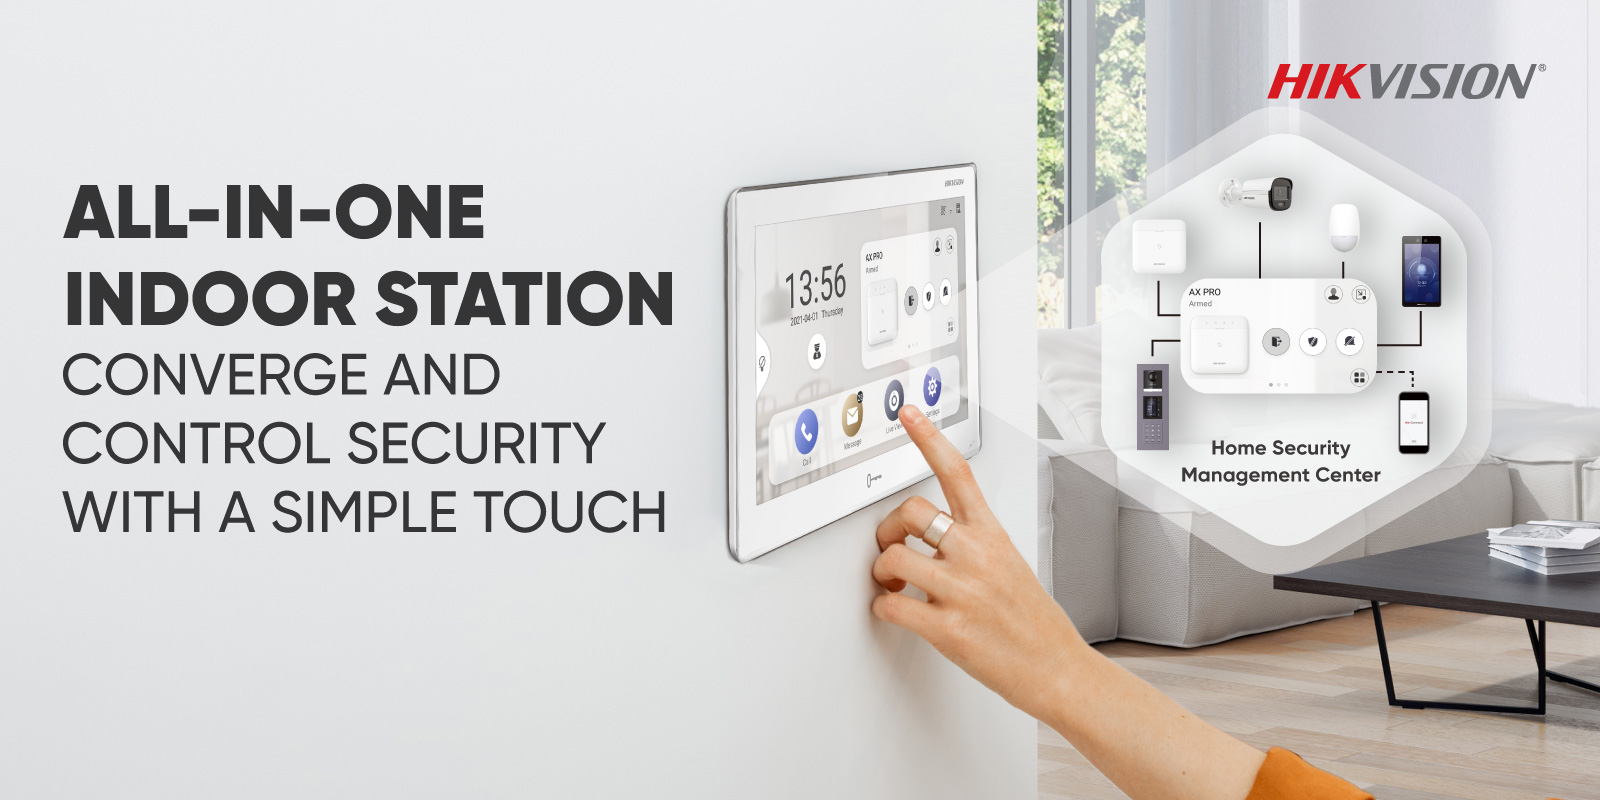
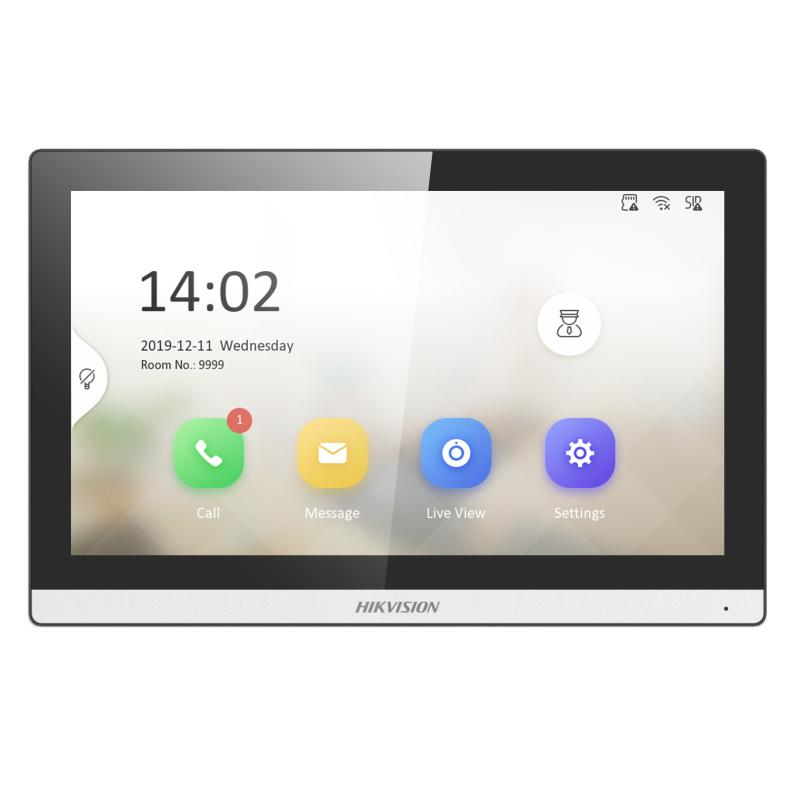
Hikvision DS-KH6350-WTE1 Gen2 IP-Based 7 inch Indoor Intercom Station Wifi | $266.00 inc GST +3 Year Warranty & Support |
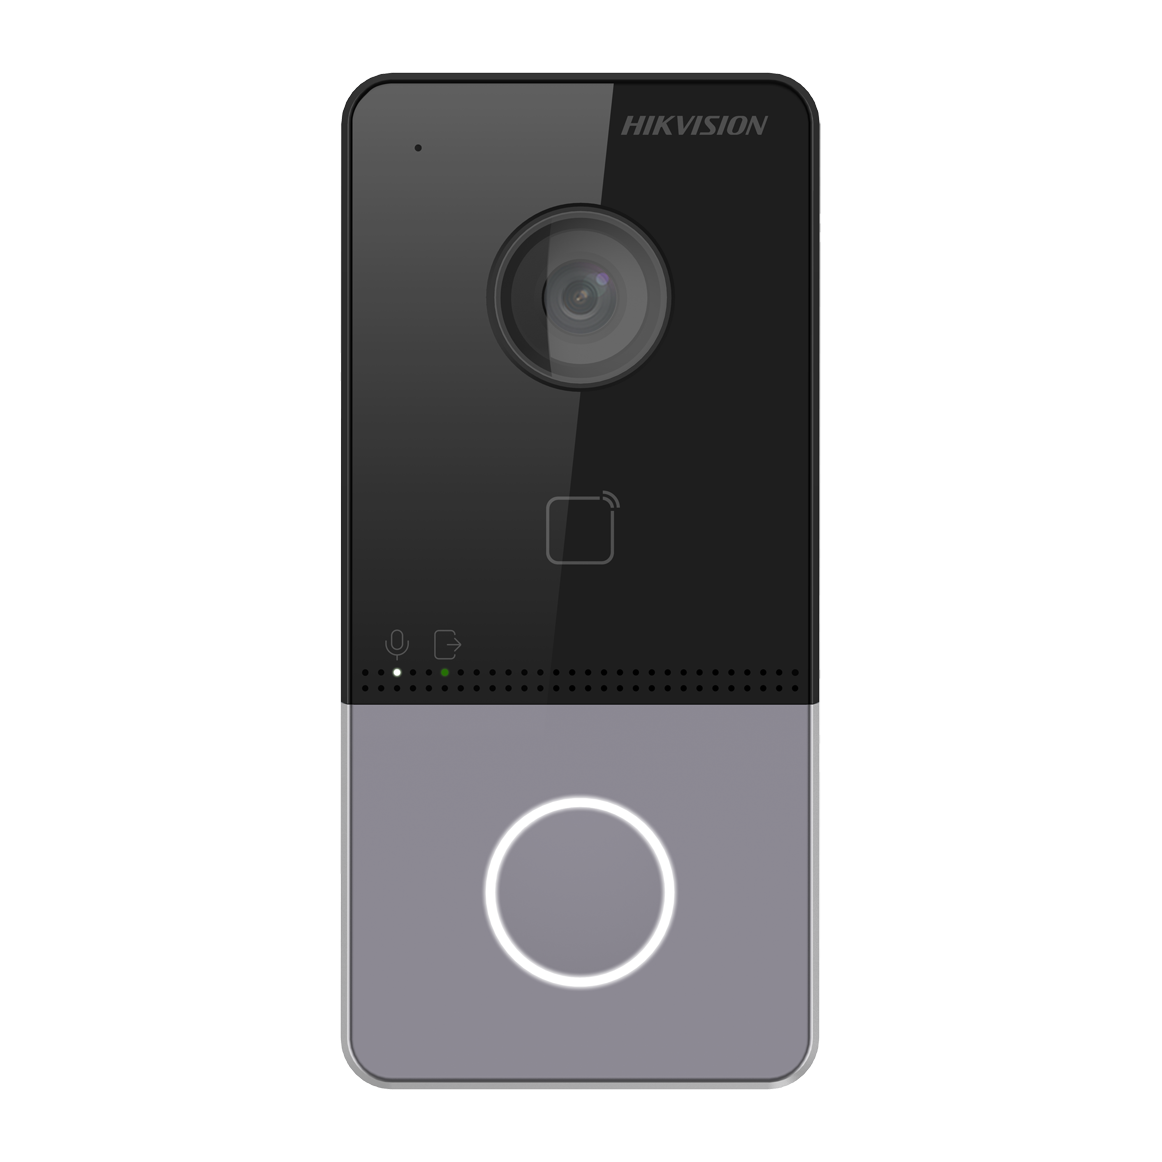
- Support Wifi (Only available in DS-KV6113-WPE1 model), convenient setting up and no wiring required
- Support web configuration
- Nice industry design, IP65, 2 indicator integrated;
- Internal Mifare card reader, 1-ch Indoor station access control;
- Noise suppression and echo cancellation
- 2MP HD Camera with IR supplement
- Standard PoE/ 12 VDC
STANDALONE?
WHAT ELSE DO I NEED?
Hikvision DS-KH6320-TE1 Gen2 Video Intercom 7-Inch Touch Screen Indoor Room Station
- System Parameters
- Operation Method Physical button
- Operation System Embedded Linux operation system
- Flash 32MB
- RAM 256MB
- Alarm Parameters
- Tampering Alarm 1
- Network Parameters
- Ethernet 10/100 Mbps Ethernet
- Network Protocol TCP/IP, RSTP
- Wifi 2.4GHz Wi-Fi (Only available in DS-KV6113-WPE1 model)
- Audio Parameters
- Audio Input Built-in omnidirectional microphone
- Audio Output Built-in loudspeaker
- Audio Compression Standard G.711 U
- Audio Compression Rate 64 Kbps
- Audio Quality Noise suppression and echo cancellation
- General
- Power Supply IEEE802.3af, standard PoE 12 VDC
- Indicator 2
- Power Consumption < 10 W
- Dimension (L X W X D) 174 mm × 91 mm × 29 mm
- Installation Surface mounting/ Flush mounting
- Working Temperature -40° C to 53° C(-40° F to 127.4° F)
- Working Humidity 10% to 95%
- Ingress Protection Level IP65
- Video Parameters
- Camera 2MP HD Camera
- Wide Dynamic Range True WDR
- Video Compression Standard H.264
- Resolution Main stream: 1920 × 1080p, 720p Sub stream: 704 × 576
- Night Vision Low illumination IR supplement mode
- Video Streaming Main stream: 1080p@30fps, 720p@25fps Sub stream: D1@25fps
- Field Of View Horizontal: 129° Vertical: 75°
- Device Interfaces
- Alarm Input 4
- Button 1
- TF Card Max to 32G
- Relay For Lock 1
- Event
- Motion Detection Support
- Camera Parameters
- BLC Support
- Field Of View Horizontal: 129° Vertical: 75°
- Access Control Parameters
- Internal Card Reader 13.56 MHz Mifare Card Reader
- Device Interfaces
- RS-485 1
Step 1: Gather Required Tools
- DS-KV6113-WPE1 unit
- Power supply (12V DC or PoE) – POE cannot be from the NVR.
- Network cable
- Computer with the SADP tool installed (downloadable from Hikvision’s official website)
- Internet browser (for configuration)
- Smartphone with the Hik-Connect app installed (available on iOS App Store or Google Play)
Step 2: Connect and Power Up
- Connect the device to your network:
- Use a network cable to connect the intercom to a PoE switch or directly to a PoE injector.
- Alternatively, connect the intercom to a 12V DC power supply and then connect it to your network.
- Wait for the device to power up completely. The LED indicators will light up when the device is operational.
Step 3: Activate the Device Using SADP
- Open the SADP tool on your computer.
- Ensure your computer is on the same network as the intercom.
- In the SADP interface, you should see the intercom listed with its default IP address (usually 192.168.1.x).
- Select the device in the SADP tool.
- Create a strong password (minimum 8 characters, containing uppercase, lowercase, numbers, and symbols) and input it into the “Activate” field.
- Click Activate to enable the device.
Step 4: Log In to the Web Interface
- Open a browser and type the intercom’s IP address into the address bar.
- Log in with the username (
admin
) and the password you set during activation.
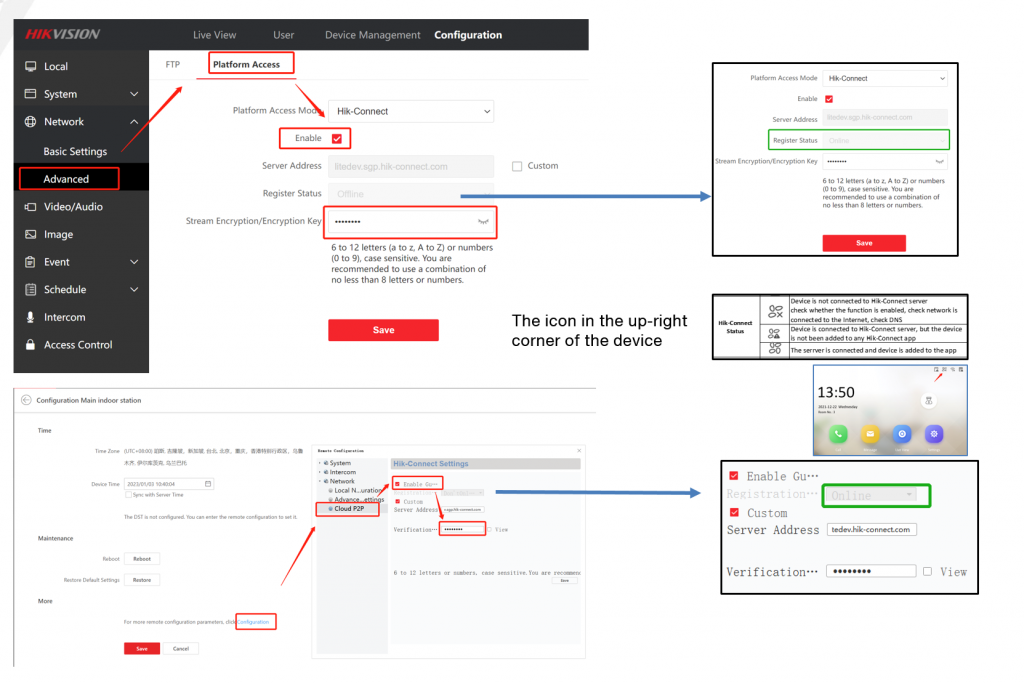
Step 5: Enable Cloud P2P (Hik-Connect)
- Log in to the intercom’s web interface.
- Navigate to Configuration > Network > Advanced Settings > Platform Access.
- Enable Platform Access by checking the appropriate box.
- Region: Select your region.
- Verification Code:
- Note the Verification Code (usually found here or on the device’s label). This is crucial for linking the device to the Hik-Connect app.
- If no code is present, you can set one manually. Use a code that’s easy to remember but secure.
- Save your settings. The status should display as “Online” if the device is successfully connected to the Hik-Connect platform.
Step 6: Mobile App Setup
- Open the Hik-Connect app on your smartphone.
- Log in or create a Hik-Connect account.
- Add the intercom to the app:
- Tap Add Device.
- Scan the QR code on the device label or manually input the serial number.
- Input the Verification Code you noted earlier.
- Follow the prompts to complete the setup.
Step 7: Test the Device
- Use the app to test video, audio, and door unlocking features.
- Confirm notifications and remote access work properly.
- Adjust any additional settings in the app or web interface as needed.